
10 Home Repairs Every Homeowner Should Know How to Do
Owning a home is brilliant. It is also a bit like owning a very large machine that occasionally decides to break something just to keep you on your toes.
There is always something. A tap starts dripping. A door begins sticking. A shelf comes loose. You notice a draught that definitely wasn’t there last winter. None of these jobs is particularly exciting, but learning how to deal with the smaller repairs yourself can save you quite a bit of money over the years. I’m not suggesting you need to become a qualified plumber, electrician or builder. Far from it.
There are some jobs where I’d always recommend getting a professional involved. But there are plenty of basic repairs that a reasonably confident homeowner can learn to do. Here are ten I’d put near the top of the list.
1. Fixing a dripping tap
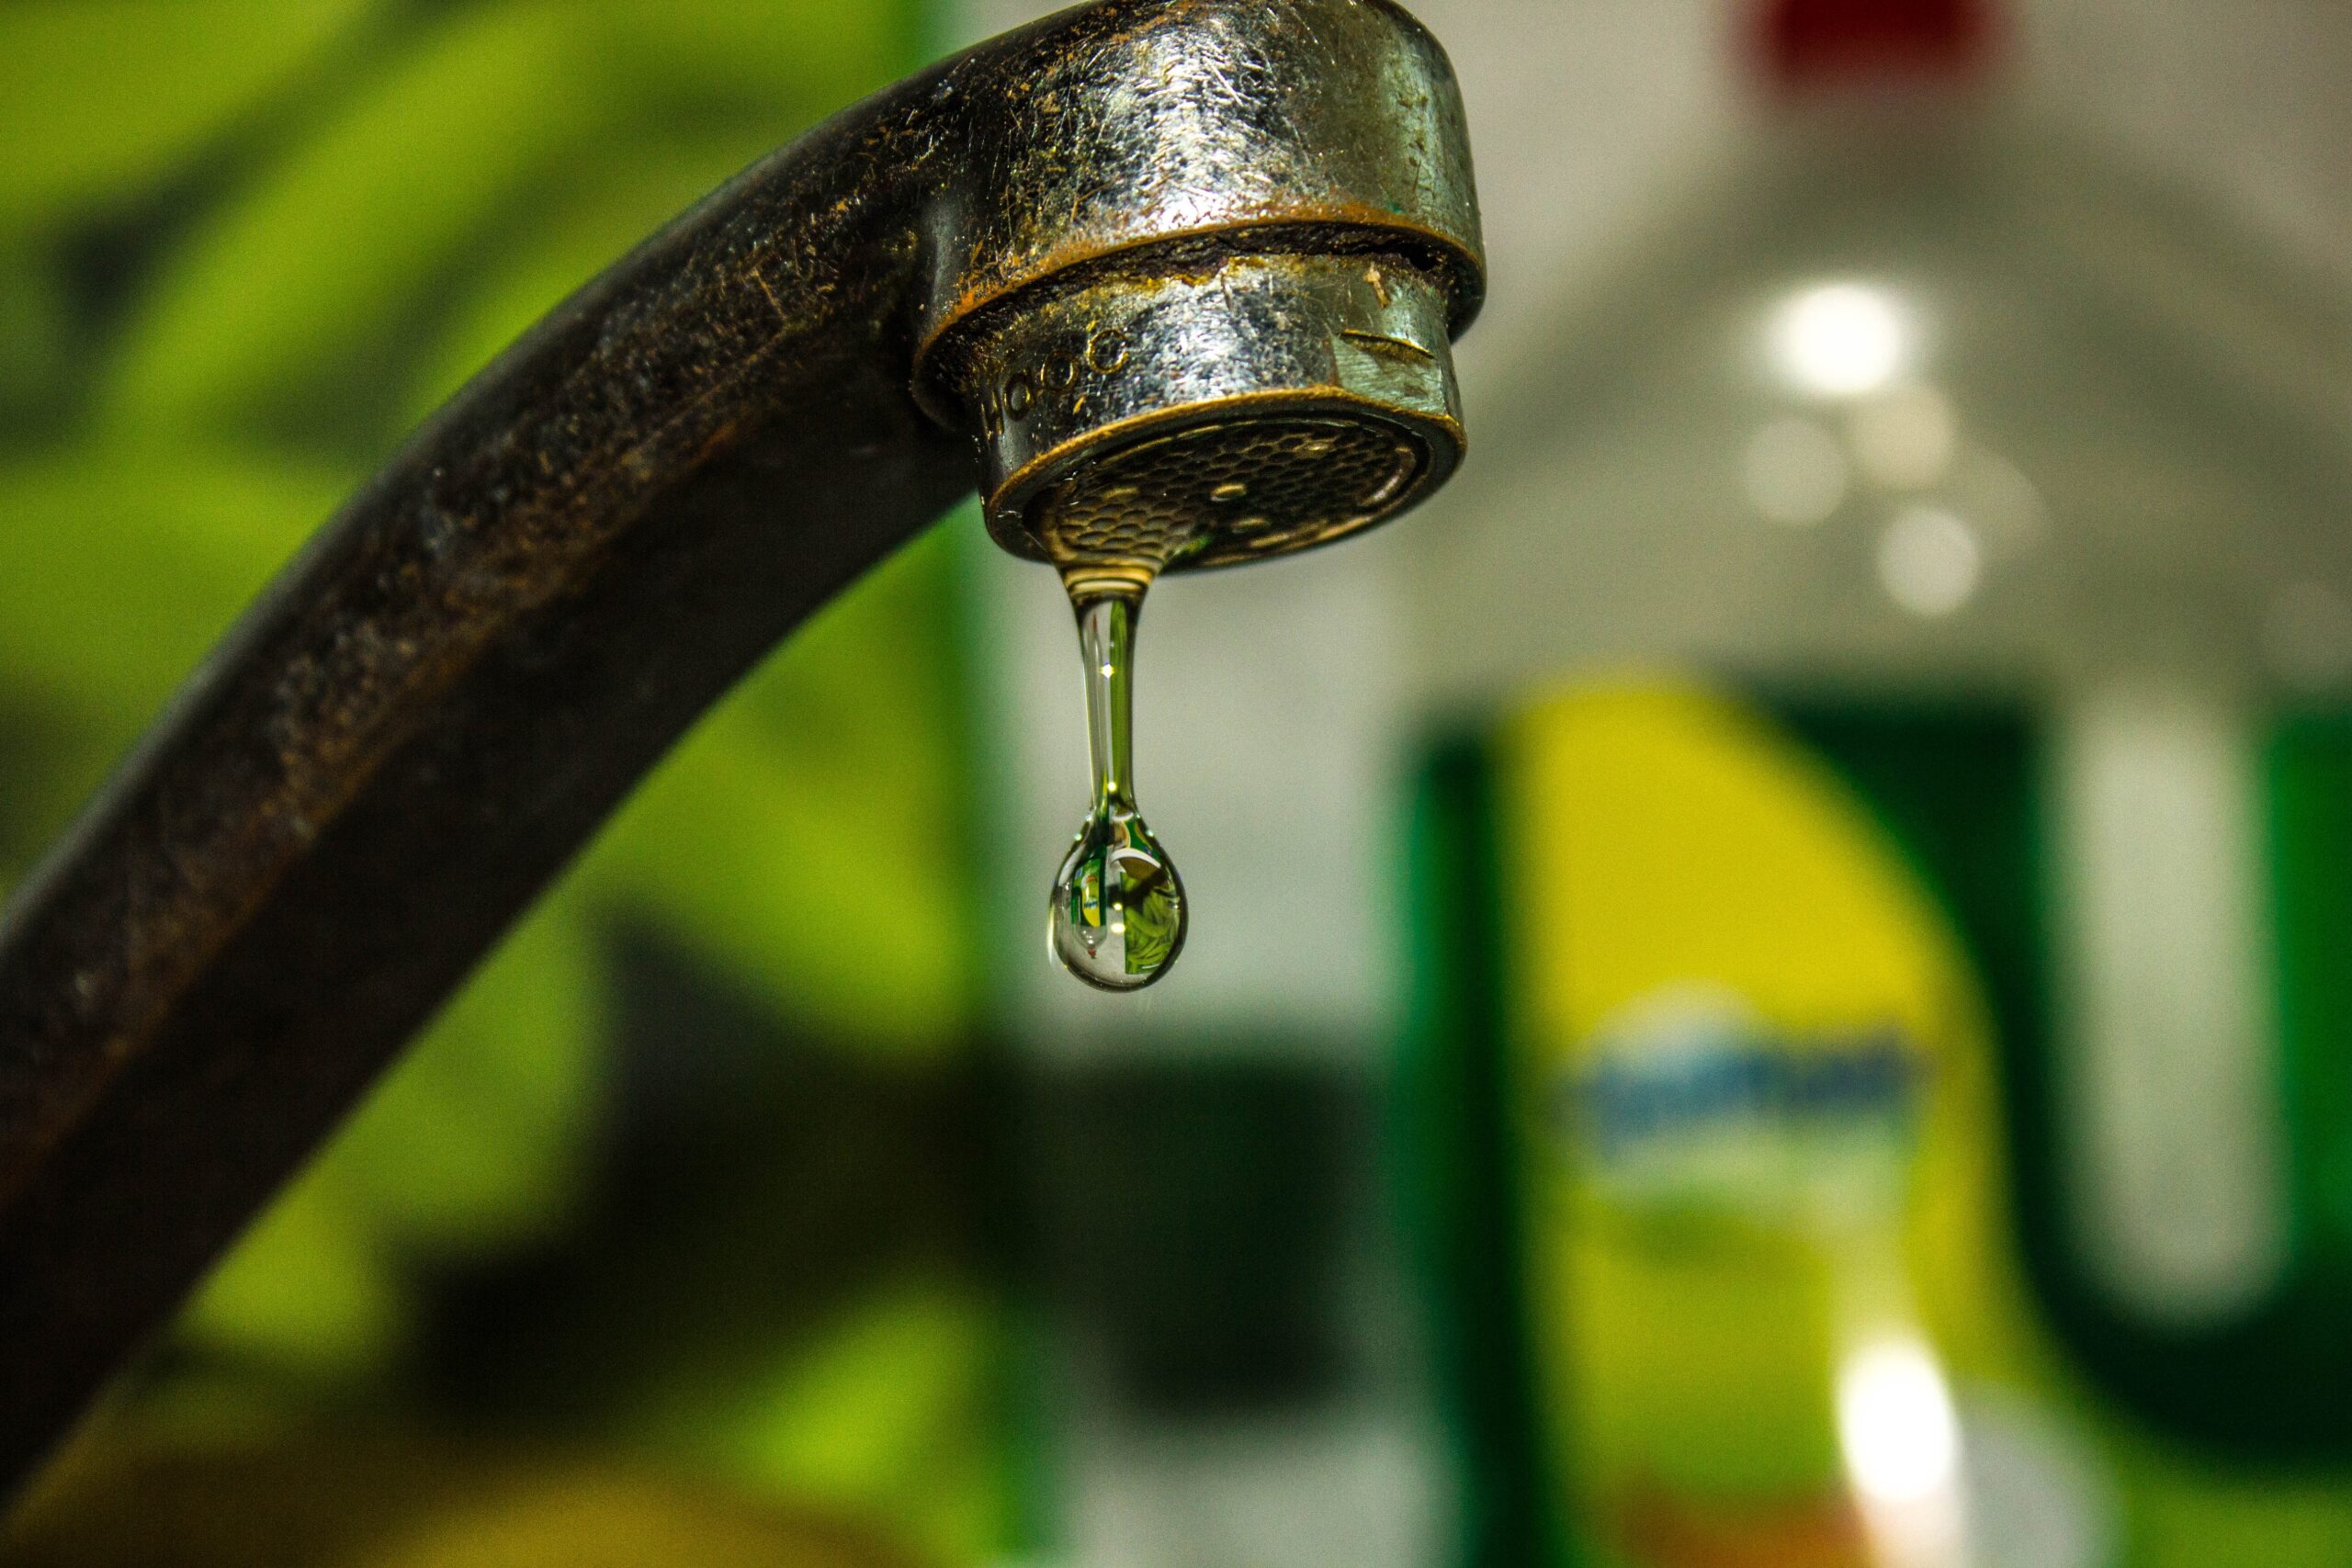
A dripping tap is one of those jobs that you can quite happily ignore for a surprisingly long time. I’ve done it myself. You hear it, think “I’ll sort that this weekend”, and then three weekends later you’re still listening to it. Depending on the type of tap, the culprit could be a worn washer, cartridge or seal. Once you’ve established what type of tap you have, replacing the faulty part is often fairly straightforward. The important bit is to turn off the water supply before taking anything apart. And take a photo before you start dismantling things. Trust me on that one. It is amazing how quickly a simple tap can turn into a collection of bits that all look like they should go somewhere.
2. Deal with a slow-draining sink
A sink that drains slowly is usually giving you a warning. It might start as a slight delay before the water disappears, then gradually get worse until you’re standing there wondering whether the water is actually going anywhere. Hair, soap, grease and food debris can all contribute to blockages. Start with the simple stuff. Clean the plughole and, if you’re comfortable doing so, remove and clean the trap underneath the sink. A decent plunger can also work wonders. I’d avoid automatically reaching for the strongest chemical unblocker you can find. If you’ve got a physical blockage, removing it is usually a better solution than repeatedly throwing chemicals down the pipe.
3. Fill holes in the wall
If you’ve ever moved house, rearranged furniture or decided that the picture you’ve had hanging in the same place for five years actually looks better somewhere else, you’ll probably have a few holes in your walls. Small holes are easy enough to sort. Clean away any loose material, apply some suitable filler, allow it to dry and sand it smooth. The trick is not to put far too much filler on and then spend an afternoon sanding it back. A couple of thin applications are often better than one huge blob. Once you’ve painted over it, most small repairs should disappear.
If you’re planning to redecorate at the same time, have a look at our tips for painting your home professionally before you start.
4. Replace old silicone
If the silicone around your bath or shower has gone black, cracked or started pulling away from the surface, don’t just ignore it. Water has a habit of finding its way into places where you really don’t want it. Removing old silicone isn’t particularly glamorous, but it is one of those jobs where taking your time pays off. Get all the old sealant out, clean the surfaces properly and make sure everything is completely dry before applying the new silicone. And don’t worry if your first attempt isn’t perfect. My advice is to buy a decent smoothing tool and take your time.
If your bathroom is looking a little tired generally, our guide on how to upgrade your bathroom might give you a few ideas.
5. Stop draughts around doors
A cold draught coming underneath an external door is annoying, particularly in the middle of winter. Before assuming you need a new door, find out exactly where the draught is coming from. Check underneath the door, around the frame and where the door closes against its seals. A simple draught excluder or replacement weather seal can sometimes make a noticeable difference. It isn’t the most exciting DIY job you’ll ever do, but it can make a room feel much more comfortable.
6. Tighten loose handles
This one really is simple. If a door handle, cupboard handle or drawer pull is loose, get the screwdriver out and sort it. Don’t leave it until the handle eventually comes off in your hand. If tightening the screw doesn’t fix the problem, have a look at the fixing itself. You may have a damaged screw, worn fitting or something that needs replacing. It is a five-minute job in many cases, which makes it exactly the sort of thing that shouldn’t be sitting on your DIY list for six months.
7. Repair damaged grout
Cracked or missing grout is worth dealing with, especially around a bath or shower. Small sections can normally be removed and replaced without having to retile the entire area. But there is an important point here. If the grout keeps cracking, tiles are moving or you can see signs of water getting behind the tiles, don’t just keep applying fresh grout. Something else may be going on. A cosmetic repair won’t solve an underlying moisture problem.
8. Silence a squeaky door
There can’t be many household noises more irritating than a door that squeaks every time somebody opens it. Luckily, this is usually an easy one. Check the hinges first. They may simply need cleaning and lubricating. If the door is rubbing against the frame, though, lubrication isn’t going to solve the problem. You may need to adjust the hinges or investigate why the door has moved. Don’t start sanding bits off the door until you’ve worked out what is actually causing the problem.
9. Put a shelf back properly
A shelf coming away from the wall isn’t something I’d simply screw back into the same holes and hope for the best. Take it down and have a look. What type of wall are you fixing into? Are the wall plugs suitable? Is the shelf carrying more weight than the original fixings were designed for? This matters particularly with heavy shelves or cupboards.
A decent drill and the right wall plugs are worth having in your toolbox. If you’re fixing something particularly heavy to a wall and you’re not sure what you’re dealing with, get some advice before loading it up.
10. Know when to leave it alone
This might actually be the most important repair skill of all. Knowing when not to DIY something. I’m all for having a go at jobs around the house, but electrical work, gas work and major structural repairs aren’t areas where you want to learn through trial and error.
Electrical Safety First advises DIYers to avoid electrical installation work unless they have the necessary competence, while HSE guidance says domestic gas work should be carried out by appropriately qualified Gas Safe registered engineers. Electrical Safety First – DIY electrical safety HSE – Gas safety
There’s no embarrassment in calling someone who knows what they’re doing. In fact, I’d say knowing your limits is part of being good at DIY.
The basic toolkit I’d recommend
You don’t need to spend thousands building a workshop.
A decent starting toolkit would include:
- A screwdriver set
- Adjustable spanner
- Pliers
- Hammer
- Tape measure
- Spirit level
- Utility knife
- Allen keys
- Cordless drill and drill bits
- Wall plugs and screws
- Plunger
- Silicone smoothing tool
You’ll add to it naturally.
Every time you do a job and think, “I wish I had one of those,” you’ll know what your next tool purchase needs to be.
One last thing
The aim isn’t to become the person everyone rings whenever their toilet breaks. It’s simply about becoming more capable around your own home. There is a lot of satisfaction in fixing something yourself, particularly when you’ve saved yourself a call-out charge at the same time. Start small. Learn as you go. Don’t rush. And if a job involves something you’re not comfortable with, get a professional in. There is nothing wrong with knowing how to use a toolbox. There is also nothing wrong with knowing when to put it back in the cupboard.